How to Create an Instagram Account

If you think Instagram could be perfect for your business but you’re not sure where to start follow the steps below and you’ll be ready to go in no time!

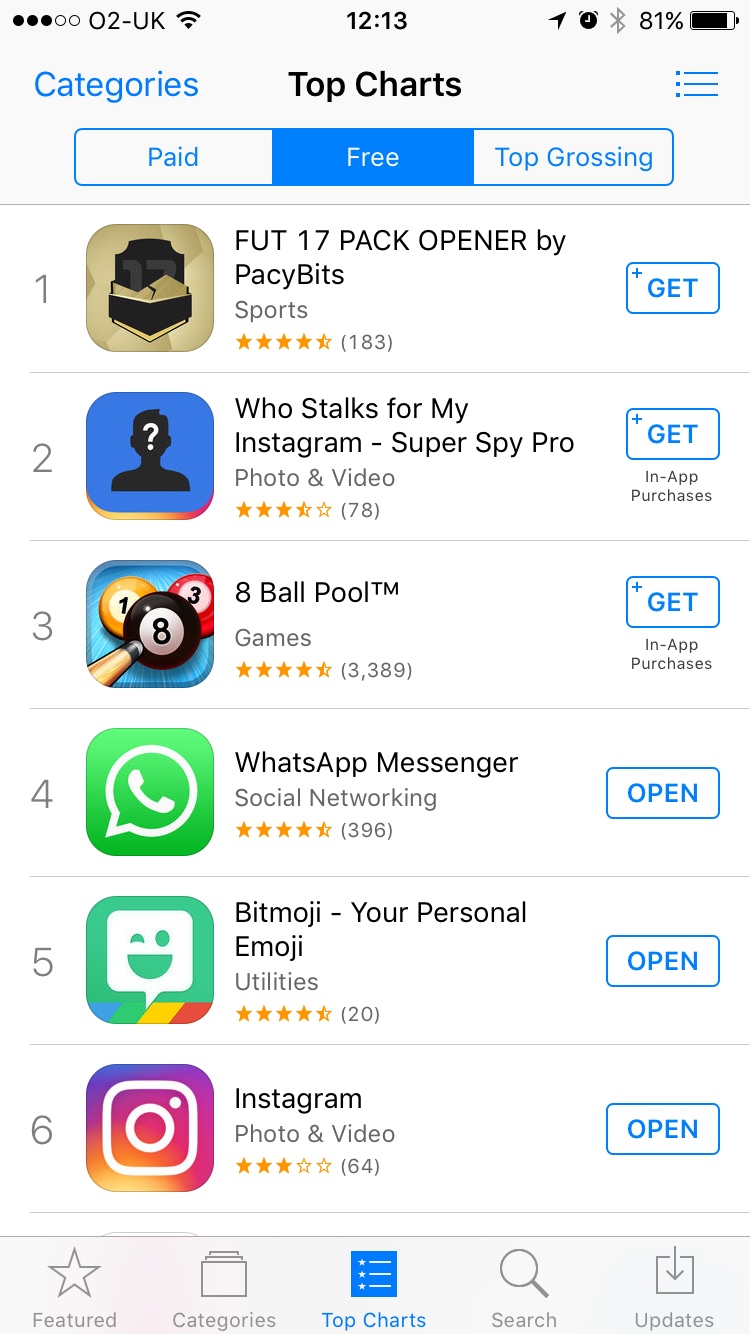
One: Download the app on a smartphone via your relevant app store.

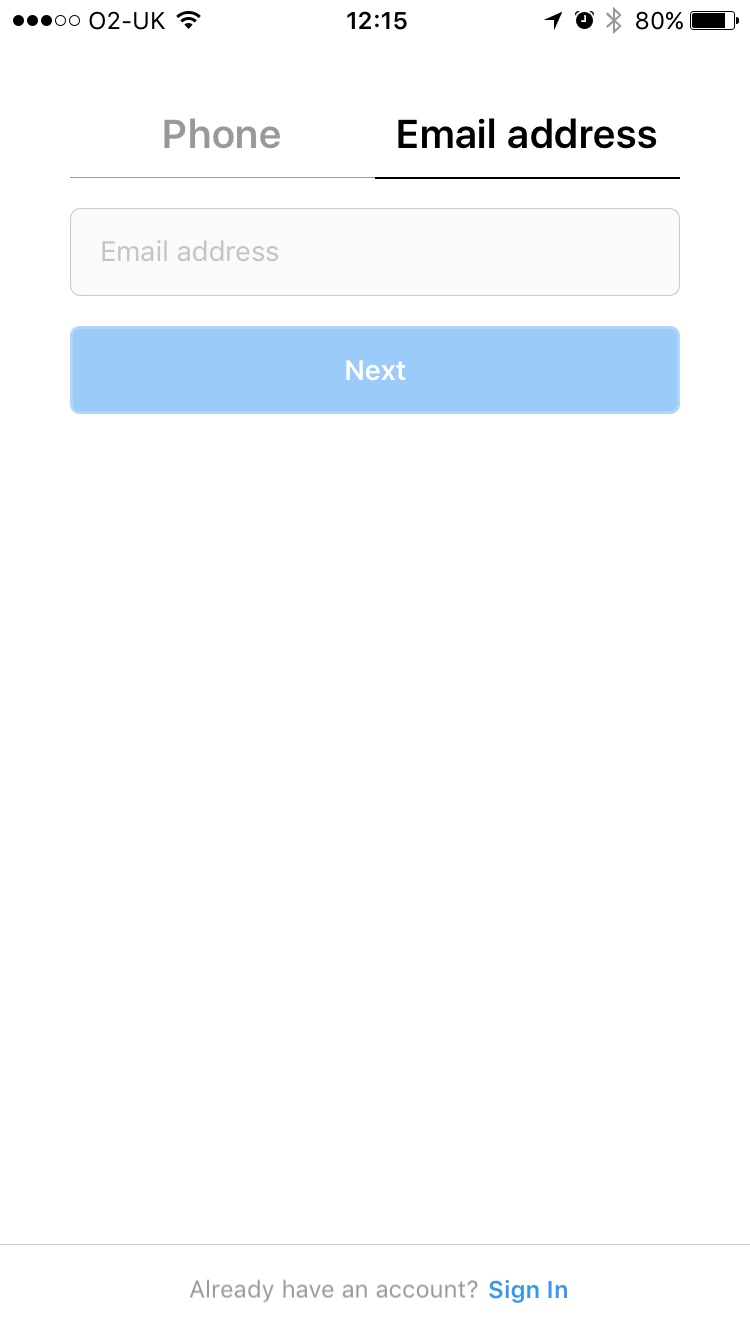
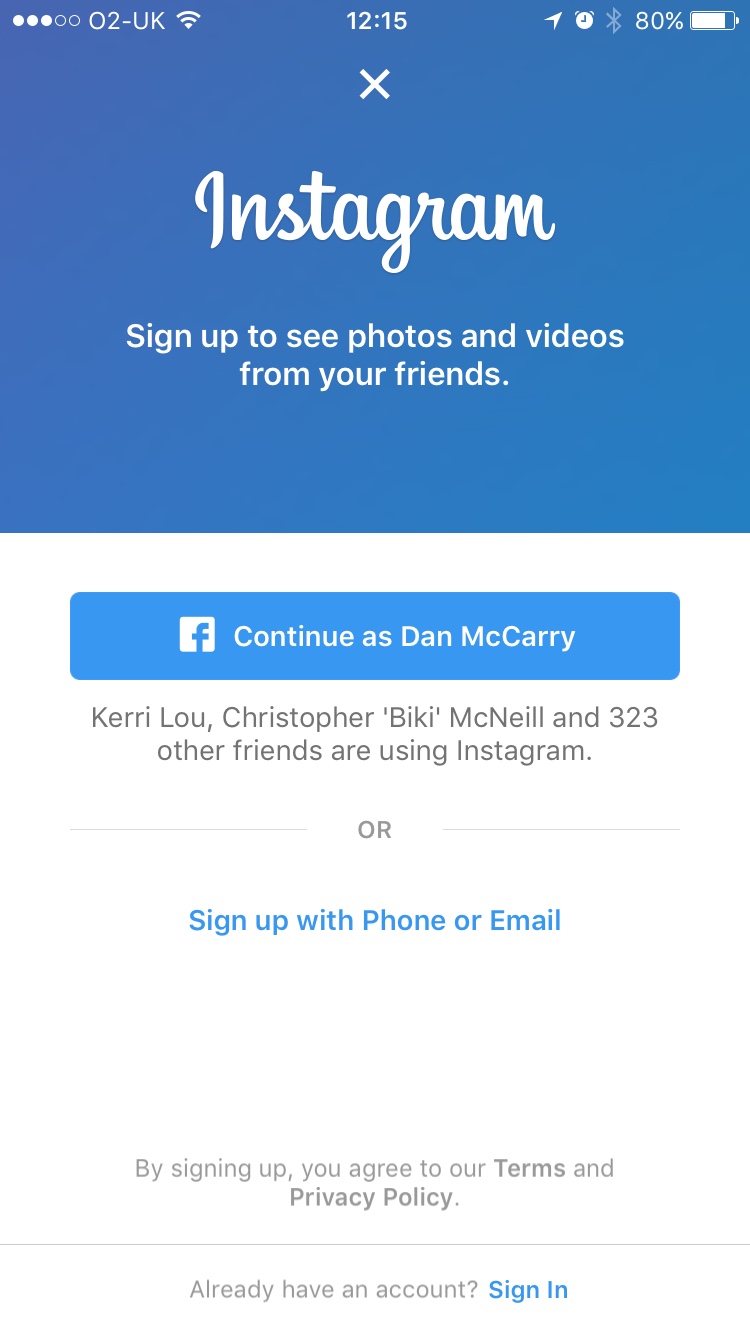
Two: Click the “Sign Up” option to get started and then begin creating your new profile including username, password and profile photo.

Three: Include as much information as possible within the small Instagram biography. Ensure that it reads well and tells browsers exactly what your business is all about.

Four: Include a link to your website or business landing page. Instagram allows only one link per profile so make sure the link you include is the best available to your business.

Five: Search for and follow relevant Instagram accounts.

Six: Get posting, searching and engaging with our accounts. Social media is “social” by nature so you need to get connecting and networking with everyone else out there!

Ps. Remember to use hashtags!

How to Link Instagram and Facebook Accounts

At its best social media marketing can be fun, informative, engaging and/or thought provoking but at its worst it can be robotic, bland and even offensive.

With all of that in mind think carefully before deciding to link your Instagram and Facebook accounts.

The upside, of course, is that a certain level of automation can save you time and effort as a business owner or marketer but the downside is your Facebook content (or a percentage of it) will no longer be native to the platform.

In the short-term you could be saving time but long-term you might be turning people off and adversely impacting your social media marketing performance.

Now then, who wants to link Instagram and Facebook accounts?

--

First, you must be an admin on the Facebook business page you’d like to connect. If that’s sorted, open your Instagram app, click on the profile section and then click on the Settings cog in the top right-hand corner. 

Connect1.jpg

Within the Settings section scroll down and click on Linked Accounts.

Within the Share Settings section click on Facebook, follow the on-page instructions and you’re good to go. 

Just keep in mind that Instagram and Facebook will initially try to link your personal Facebook page. To change this click on Facebook and choose the relevant page you manage. 

How to Use Facebook Live

Have you noticed? Facebook Live is everywhere right now!

Not only is everyone from major brands to tiny businesses using the feature but Facebook are also promoting it as much as possible and as I highlighted before Christmas it’s becoming a real game changer online.

If you want to join the fun simply follow the steps below!

--

First, it should be noted that Facebook Live is a mobile-first feature meaning that even though you can broadcast from a laptop or desktop, it’s primarily for smartphones and tablets.

With that in mind let’s get going. Open the Facebook app on your smartphone or tablet.

If you want to Live from your personal account you’ll see the Live icon in the top left-hand corner. This can be seen in the screenshot below. When you’re ready simply hit that button and… Go! 

FL1 copy.jpg

If you want to go Live using your business or brand page then click on the respective page and you should see something similar to the screenshot below.

Hit “Publish” when you’re ready and a screen similar to the screenshot below should pop up. You’ll notice the “Live Video” button near the bottom of the screen.

Simply hit that “Live Video” button when you’re ready and in 3, 2, 1… Your business is Live! 

Have fun!

How to Add Multiple Instagram Accounts

Nowadays even the smallest business owner has multiple online channels to worry about.

Any one person or business can have an official website, Facebook page, Twitter account, YouTube channel, mailing list and more, so it can get confusing from time to time!

Luckily, in the case of Instagram, if you have more than one account or need more than one, the Facebook owned social media giants have included a handy little feature.

This feature lets you add and easily switch between multiple Instagram accounts with ease.

To get started open your current Instagram account and go to the profile section. You should see a screen similar to below. 

If you only have one Instagram account click on the small Options symbol on the top right-hand side to bring up the relevant screen. Scroll down to the bottom and you should see the following where you can easily add a new account.

Alternatively, if you already have more than one account, click on the arrow (circled) beside your profile name and you should see a dropdown menu like below. Here you will be able to switch between previously added accounts or click on “+Add Account” to add a new one. 

When you’ve done that you’ll be greeted with the following screen. Enter the details if you’ve already created the account before. If not, click “Don’t Have An Account? Sign Up” and get cracking! 

Have fun!

How to Improve Your Email Marketing

Social media might the major player in the digital marketing world nowadays but businesses should be wary of forgetting about the importance of email marketing.

A tightly constructed customer email list, created with a clear purpose in mind, can be vital as part of your digital marketing mix and the next step is using that list in a way that works for your business.

Below, you’ll find a few key touch points to consider when creating your next email campaign.

Keep It Simple

At its core marketing is a simple process. You, as a business, have a message you want to tell people. That’s it.

After that, it’s about choosing the right channel, conveying your message in the right way and cutting through all the noise.

Email marketing is simple an extension of the above and keeping it simple and straightforward will pay dividends.

Don’t bombard your mailing list with too many messages in one campaign. Pick one or two key messages; focus on them and save your other messages for the next campaign.

Give Your Audience What They Want

Recently when studying Mailchimp insights, when working with a client, we noticed after the first campaign, that the majority of their current mailing list came from countries like the United States, Australia, Canada and New Zealand. 

As a result we tailored our next campaign to relate more with this international audience.

We asked ourselves “what do they specifically want to hear?”

The results were positive. We boosted open rates by 2.5% to achieve 30% overall and almost doubled click-through rates from 2.7% to 4.3%.

This is tangible proof that planning ahead and focusing on the customer works and we hope to see further growth with the next campaign!

Test Test Test

If you take anything from this blog, please, don’t repeat the same things in email marketing over and over and over…

Use each new campaign to experiment with different actions and tactics. Test different subject lines, campaign messages and text and imagery.

If possible, test everything!

After 5 or 6 campaigns of active testing you will start to see trends on what works and what doesn’t. This will strengthen your email marketing moving forward and your business will benefit as a result.

Good luck!

Getting Started and How to Write Title Tags and Meta Descriptions for SEO

Search Engine Optimisation (SEO for short) can seem like a minefield for small or medium sized businesses without proper resource but with just a few changes you can set your website on the right path.

Title tags and meta descriptions refer to the information you assign to each page on your site that then appears on a Google search results page. In the below image you’ll see the title tag as purple clickable text (normally blue before clicking) and the meta description as light grey text.

Both page elements are important for two key reasons. First, they indicate to Google, via keywords, what exactly each page is about and secondly, if they’re interesting enough, they’ll encourage Google searchers to click on your page rather than someone else’s.

Title Tags

Title tags are one of the most important on-page SEO elements for your website because search engines actively crawl them and because online searchers will see them in results pages.

As a result you can find thousands of blogs out there on how to craft the best possible tags but we’re going to keep things simple in a bid to get you moving.

When writing unique title tags for each of your web pages push your most important keywords to the front (i.e. first word and on), make it relevant and readable and try to stick to under 60 characters.

There is constant debate, particularly this year, on optimum character length so if you really want to squeeze as much as possible out of Google our recommendation would be to test various lengths.

Meta Descriptions

The importance of great meta descriptions is slightly more debatable.

According to Google, although they could be lying, meta descriptions aren’t crawled which means search engines won’t actively penalize you for having rubbish descriptions.

However, because meta descriptions are so prominent in search results (look at the image above) some SEOs claim they are extremely important because great descriptions could encourage more clicks, traffic to your site and so on.

Our advice, as always, would be to test things and see what works for your site.

When writing your descriptions try to aim for a character length between 100-160 and think of it, quite literally, as a tiny description of that unique page. Start with the most important information and work your way onwards from there.

--

SEO can seem extremely complicated, and with massive websites it definitely can be, but if you’re a smaller sized business wondering how to get started hopefully this will help.

Give it a go, get stuck in and learn from your mistakes!

How to Add Multiple Accounts on Twitter

Whether you’re a business owner, digital marketer, blogger or something completely left field you might get to a point where you have more than one Twitter account to take care of.

Luckily Twitter has included a handy little feature on their mobile app to help you switch seamlessly between the various accounts.

To get started you’ll have to add another account and here, we’ll give you a quick guide on how to do that.

First, open the Twitter app on your smartphone, go to the profile page and click on the little two-person icon in the upper right-hand corner. You should see a screen similar to the one below pop up. 

Next, click on “More Options” to see the following screen.

Here you might decide to “Create a New Account” but in this case we’re going to click on “Add an Existing Account” and see the next screen.

You’re almost there! Simply type in your other Twitter account details and hit “Log in” when you’re ready.

Have fun!

How to Set-Up Google Analytics for your Business Website

The Internet, and digital marketing, is a data junkie’s dream nowadays as almost everything can be tracked, measured and improved upon. Businesses and marketers can now follow so much more of the consumer’s online journey towards a purchase and Google Analytics has a big part to play in this.

Google Analytics can help you identify any of number of details on your website including popular pages, underperforming content, user navigation dislikes, conversions and more.

If you haven’t got a Google Analytics account for your business follow the steps below to get started.

First, visit Google.co.uk/analytics and scroll down until you see “Google Analytics” and click “Get Started”. 

After that choose your Google account or create a new one and then follow each step until you see the screen below. Click “Sign Up” to move forward.

This next stage is where you will provide Google Analytics with various details including, most importantly, your website address. Fill in all necessary details and click “Get Tracking ID”.

You should now have your very own tracking ID code. This will be used by Google Analytics to collect information that you will then be able to analyse for business purposes.

If your comfortable, follow Google’s instructions to insert the code in the backend of your website. If not, talk to your web developer and they should be able to sort it out in 30 seconds flat!

After that you’re good to go and Google Analytics will begin to collect data on your website within 24 hours.

Good luck!

How to Set-Up a Mailchimp Account for Email Marketing

Despite the rise of social media, email marketing is still a massively valuable addition to any business’ online tool belt. Growing your business mailing list and creating engaging, useful or entertaining content for your subscribers should be standard practice in 2016.

If it isn’t, don’t worry. Get started today and before you know it you’ll be an email marketing expert!

In this case we will focus on Mailchimp, arguably the best and most popular email marketing platform available online.

Go to Mailchimp.com and click “Sign Up Free” in the top right-hand corner to get started.

Next fill out your relevant details including your email address, username and password. These could be generic business details or specific to a member of staff, you decide. When you’re happy click “Get Started”. 

After that you will receive an email from Mailchimp, to the address you listed, that will seek to activate and validate your account. Don’t worry if you don’t receive it instantly and keep an eye on your Spam and Trash folders just in case.

Follow the details in the email and you’ll be good to go! After that the fun can begin and you can explore the Mailchimp Dashboard until you feel comfortable to get cracking.

Good luck!

How to Set-Up a Twitter Business Account

Twitter has been around for a lifetime (in Internet terms anyway…) but if you’re a brand new business or have never used the social website and app before you might be wondering where to start.

With this short guide we’ll get you set-up with a brand new Twitter account for business.

To begin, visit Twitter.com and click on the “Sign Up” button.

The next step is to fill in your business name, email address and password. You can then skip the mobile phone stage, if you want, and head straight to the next section where you will pick your username. Make this your business name or something closely related.

Next, work through the various Twitter set-up stages where they ask about your Interests and other identifiers. You now have a fully fledged Twitter account for your business and you will be greeted with a screen similar to below. 

After that click “Edit Profile”, available via the drop-down menu on the upper right-hand side of the screen, at any time to edit your profile in any way. 

Remember to include your location, a short descriptive biography about your business, a link to your website and a great profile and cover photo!

Good luck tweeting!